# Add your Holopin badges to your personal website
> In this tutorial I'll show you how to add your Holopin badges to your personal website.
- URL: https://blog.kochie.io/articles/03-holopin
- Author: Robert Koch
- Published: 2022-10-11
- Tags: software, frontend, 100DTO
- Project: https://blog.kochie.io/projects/personal-site
---
> This post is also published on
> [Holopin](https://blog.holopin.io/posts/website-embed-tutorial).
### Making your website awesome!
Holopins are a fantastic way to share your achievements with the world. Whether
you've just signed up for [Hacktoberfest](https://www.holopin.io/@hacktoberfest)
or found a
[security vulnerability](https://www.holopin.io/sticker/cl8lex8741023109mj7kxtzq4w)
there's always a pin for your achievements, and you might as well show the world
how amazing you are. You can add them to your website, blog, social media
profiles, email signatures, and more! In this tutorial I'm going to walkthrough
how you can add your Holopin board to your own website.
The process shouldn't take you more than 10-15 minutes if you're familiar with
HTML. The first thing you'll want to do is navigate to your Holopin board. It
should be at the link `https://holopin.io/@{YOUR USERNAME}`, here you'll find a
line of markdown that lets you embed the link to your board on any page. It will
look something like this
```markdown
[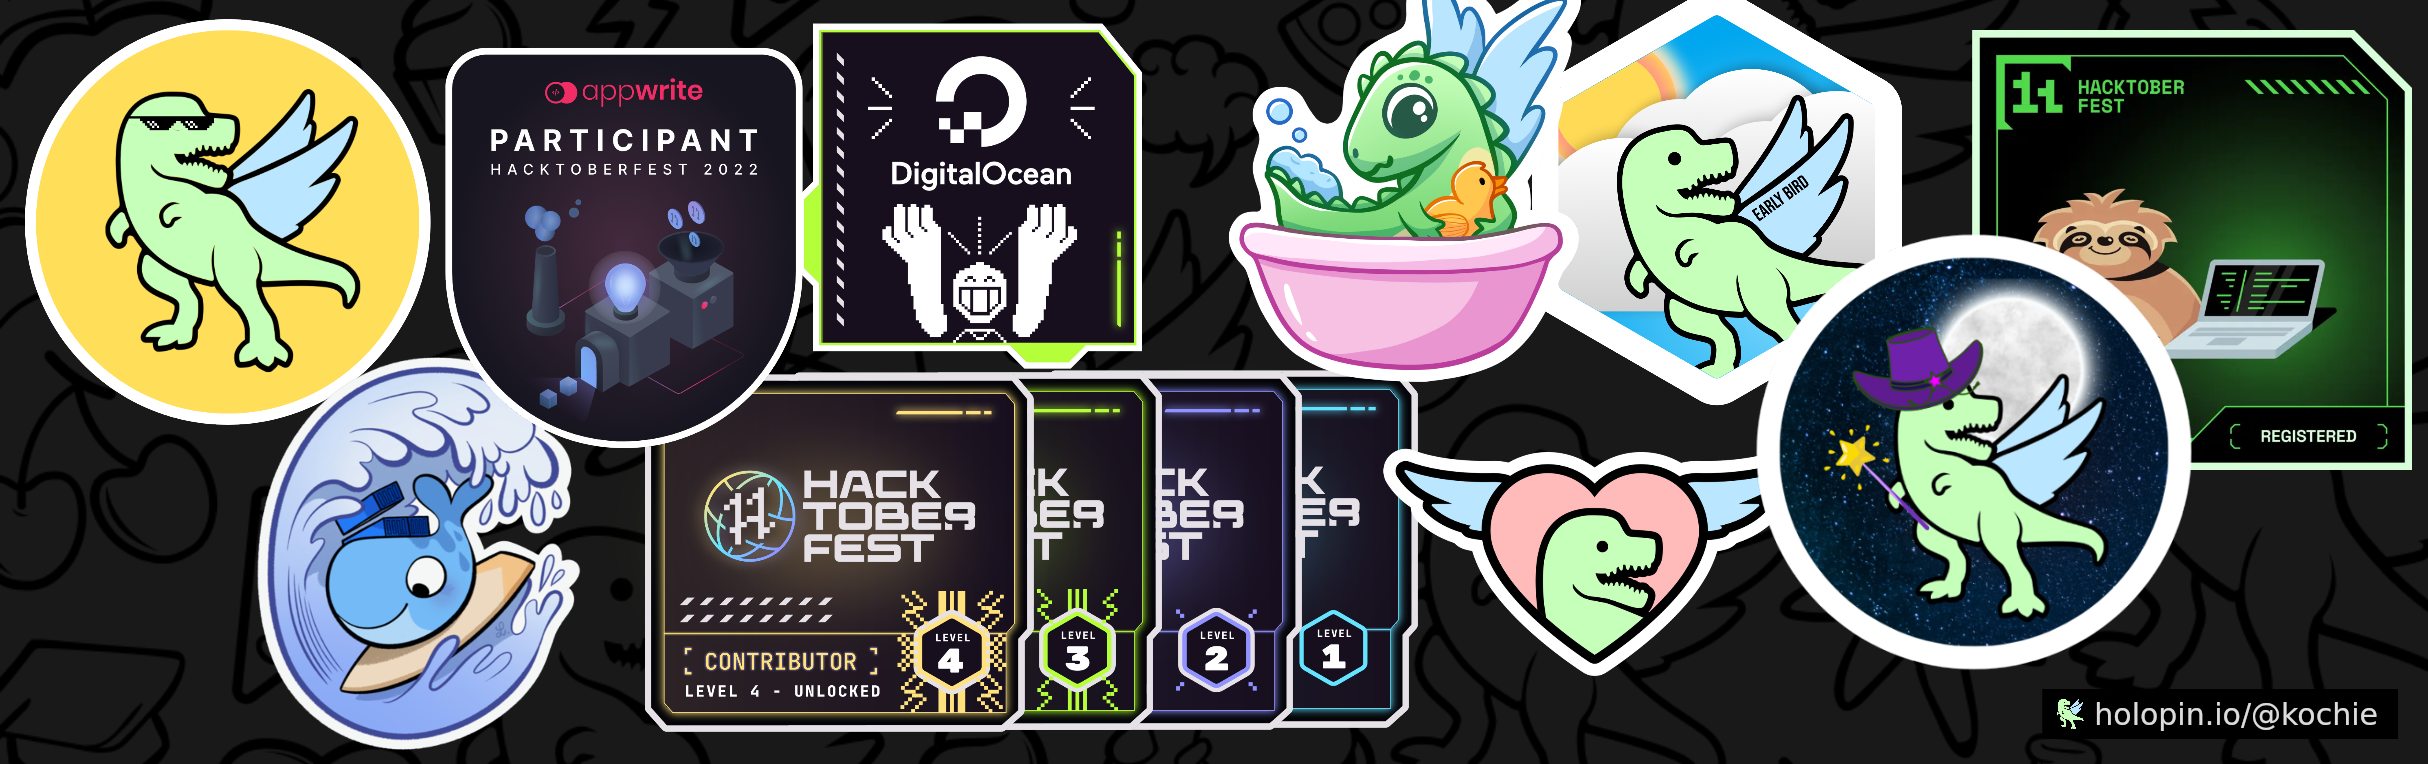](https://holopin.io/@kochie)
```
This is what it looks like on my page.

Now this markdown snippet is great for just copying into your GitHub profile,
but what if you want to add it into a page that doesn't have markdown? Well to
do that you need to know a bit about what markdown is and what the snippet is
doing.
Simply put markdown is a language for writing text with formatting. Not only can
you write plaintext but you can also have links, images, and
[other formatting options](https://www.markdownguide.org/cheat-sheet/).
If you're unfamiliar with markdown syntax this might look a bit complicated,
but don't worry it's quite simple. This markdown will convert to a picture (with
alt text) and a link, here are what they look like as separate lines.
```mdx
 <-- An image in markdown
[link text goes here](link href goes here) <-- A link in markdown
```
Putting the two together gives you the above line that you see on your board
page. The Holopin snippet roughly translates to the below html.
```html
```
But now that you know how to read this markdown you can add your board to any
website by writing the html yourself like I have!
The great part about adding your Holopin board to your website is that you can
change the style of how it's shown by using your favourite styling language. How
about a little hover effect using a CSS library like
[Tailwind](https://tailwindcss.com/)?
```html
```
That's it you're ready to get started adding your own board to your sites, or if
you want to get going right away you can use this snippet in a
[next.js](https://nextjs.org) app to jumpstart your page.
```tsx
import Image from 'next/image'
import Link from 'next/link'
import React, { forwardRef } from 'react'
const HolopinImage = ({ user }, ref) => (
)
const HolopinRef = forwardRef(HolopinImage)
const Holopin = ({ user }) => (
)
```
Here's what my page looks like with the above component.

Feeling inspired? Tag [@holopin\_](https://twitter.com/holopin_) on twitter and
let us know what you've built!